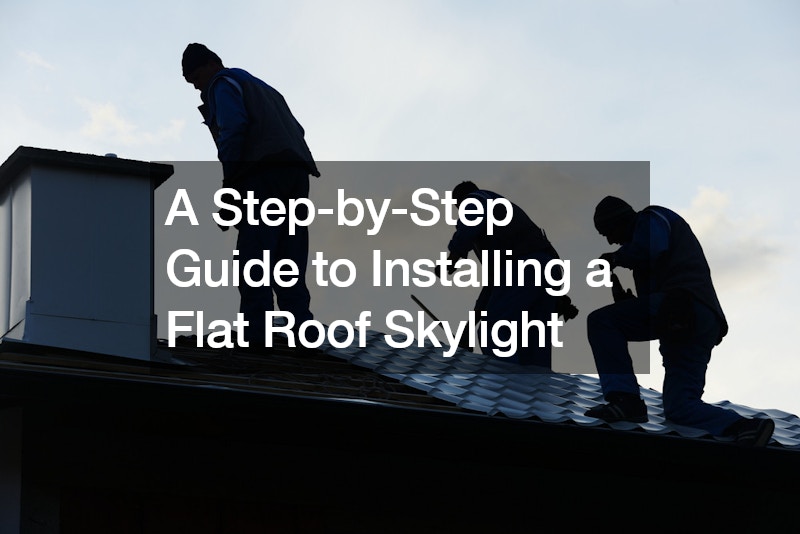
Adding a skylight to a flat roof can transform any space, flooding it with natural light and enhancing its overall appeal. Whether you’re looking to brighten up a living area, office space, or even a garage, installing a flat roof skylight requires careful planning and precise execution. In this comprehensive guide, we’ll walk you through the essential steps to successfully install a flat roof skylight, ensuring both functionality and aesthetic enhancement.
Step 1: Planning and Preparation
Before diving into the installation process, thorough planning is crucial. Begin by selecting the right location on your flat roof for the skylight.
Consider factors such as the room’s layout, desired light exposure, and any potential obstacles like HVAC systems or structural elements. Once the location is determined, measure the skylight’s dimensions carefully to ensure compatibility with your chosen space.
Step 2: Building the Upstand
The foundation of a flat roof skylight installation is the upstand, which provides structural support and ensures proper drainage. Construct the upstand using sturdy materials like 2×2 timber and 12mm OSB (Oriented Strand Board) plywood. The upstand should be built slightly larger than the skylight’s dimensions to allow for a smooth fit during installation. To ensure compliance and safety, adhere to local building regulations regarding upstand height and construction specifications.
Step 3: Roof Structure Reinforcement
Since a skylight introduces an opening in the roof, reinforcing the roof structure is paramount. Use doubled-up joists around the perimeter of the skylight area to support the additional weight and maintain structural integrity. This step is critical in preventing any structural issues or compromises due to the skylight’s installation.
Step 4: Ensuring Proper Drainage
To prevent water pooling and potential leaks, incorporate furring strips into the upstand construction. These strips provide a slight incline, allowing water to flow away from the skylight. Proper drainage not only protects the skylight itself but also safeguards your roof and interior space from water damage over time.
Step 5: Installing Supporting Batons and Foam Rope
Once the upstand is in place and properly reinforced, install supporting batons along its perimeter. These batons serve as a base for the skylight and are crucial for ensuring its stability. Apply foam rope atop the batons to level any irregularities and create a secure foundation for the skylight. This step is essential to prevent pressure on the glass panes and maintain the skylight’s integrity over time.
Step 6: Applying Weatherproof Sealant
To complete the installation, apply weatherproof sealant meticulously around the perimeter of the upstand. This sealant not only secures the skylight in place but also acts as a barrier against moisture infiltration and ensures a tight, weather-resistant fit. Pay close attention to sealing joints and edges to minimize the risk of leaks and enhance the skylight’s longevity.
Step 7: Final Touches and Inspection
Once the skylight is securely installed and sealed, perform a thorough inspection to ensure everything is in place and functioning correctly. Check for any gaps in the sealant or potential areas of concern. Also, consider adding interior finishes or trim around the skylight to enhance its aesthetic appeal and integrate it seamlessly into your space.
Choosing the Best Flat Roof Skylight for Your Space
Adding a skylight to your flat roof is more than just installing a window—it’s about enhancing your space with natural light while ensuring functionality and durability. Here’s how to choose the best flat roof skylight for your specific needs:
Consider Your Lighting Needs
Before selecting a skylight, assess your space’s lighting requirements. Are you looking to flood a dimly lit area with sunlight, or do you prefer a skylight that offers diffused light to minimize glare? Top-rated frameless flat rooflights are designed to maximize natural light while minimizing heat gain, providing optimal illumination without compromising comfort.
Evaluate Energy Efficiency
Energy efficiency is crucial when choosing a skylight. Look for models that offer low U-values and high solar heat gain coefficients (SHGC) to minimize heat loss in winter and heat gain in summer. Opt for skylights that feature advanced glazing technologies to enhance energy efficiency and reduce heating and cooling costs year-round.
Check for Safety and Security Features
Safety is paramount when installing a skylight, especially on a flat roof. Choose skylights equipped with safety features such as laminated or tempered glass to prevent breakage and reduce the risk of injury. Look for skylights with secure locking mechanisms to deter unauthorized access and ensure peace of mind.
Wrapping Up
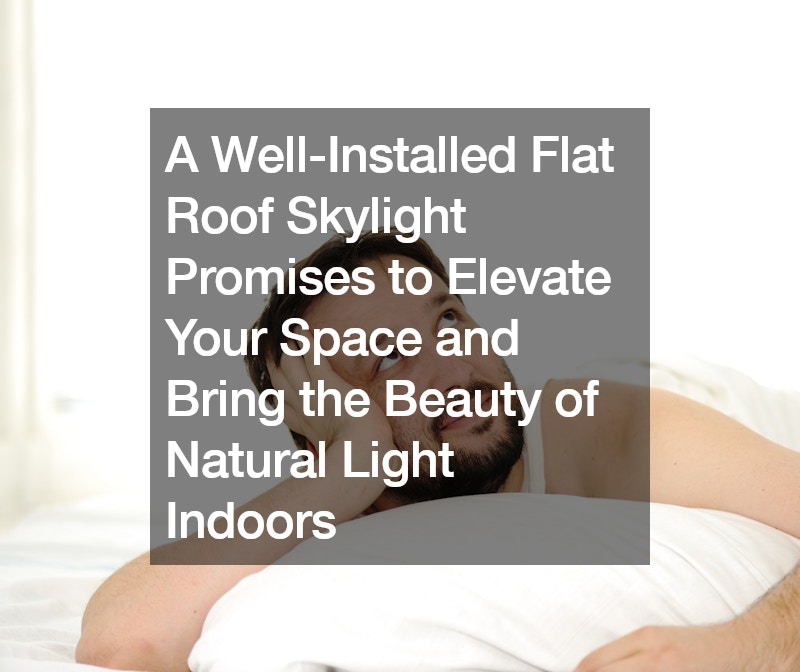
Whether you’re undertaking the project yourself or working with professionals, a well-installed flat roof skylight promises to elevate your space and bring the beauty of natural light indoors. With this addition to your home or commercial property, you can create a brighter, more inviting environment.
.